In your Mollie account:
1. First login to your Mollie acount and make a profile.
2. Go to 'Developers'
3. Copy your 'Profile ID'
4. Under the TAB 'Organisation access tokens' create a new token and make sure it has these rights:

5. Copy the token
In Business Central:

In the below picture:
1. Fill the profile ID you copied in step 3
2. Give the profile a friendly name
3. FIll the access token you copied in step 5
4. Fill the URL to where customers should be send after a payment
5. FIll the dateformula for the lifetime of the generated payment links (otherwise the links will allways remain active)

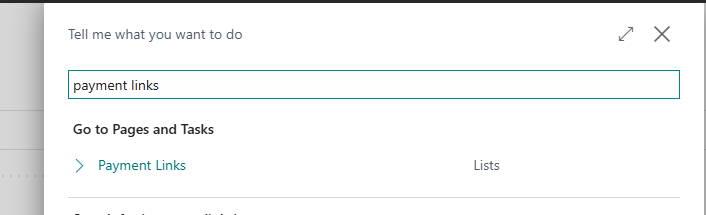
To test the profile you can browse to the page 'payment links' and create a test payment.

After creation you can open the generated test URL and do the test payment.
In Mollie you can check the payment status when you put Mollie in 'test mode':

Now we go to the Mollie profile selection.

The basic setting is to select the just created profile and leave 'profile selection' to 'From Setup'

Now navigate to the page 'Interact Setup' and open the 'Invoice.DIDO' setup sub page. Here wel also select the created profile.

In the general TAB you can set of the QR will be put on all invoices or if it's set on the customer card.

Was dit artikel nuttig?
Dat is fantastisch!
Hartelijk dank voor uw beoordeling
Sorry dat we u niet konden helpen
Hartelijk dank voor uw beoordeling
Feedback verzonden
We stellen uw moeite op prijs en zullen proberen het artikel te verbeteren